

Havasu Falls is the most beautiful place you will ever go in your life. Getting a reservation* is damn near impossible and the hike is long and brutal, but if you’re lucky enough to get the opportunity to visit Havasu Falls, it will be the most worth-it trip you ever take!
*As of 2019 reservations can be made online, click here.
My trip was planned and brought to life by a travel community I am a part of on Facebook, Girls Love Travel. Despite having the help of veterans who’ve done it before and the coordination of 50 intelligent women, navigating our trip to Havasu was superrr confusing at times. So I’ve put together a complete travel guide to help you make your trip to Havasu Falls. 😊
How to find Havasu Falls
Havasu Falls is located at the base of the Grand Canyon and is within the lands of the Havasupai Tribe Reservations. Although it’s right at the base of the canyon, you have to enter the Canyon about 10 miles away at a very specific location: The Havasupai Trailhead.
Which airport to fly into
Las Vegas, Phoenix, or Flagstaff? Good question. I researched this heavily and decided to fly into Las Vegas, because the flight was cheaper and I found a better deal on my rental car. But ultimately this will be your call.
Here are the drive times from each:
- McCarran International Airport (LAS) to Trailhead is 3 hr 57 mins
- Phoenix Sky Harbor airport (PHX) to Trailhead is 4 hr 36 mins
- Flagstaff airport (FLG) to Trailhead is 2 hr 55 mins
I’ve included detailed driving directions from each airport below!
Getting to the Trailhead
For such an insanely famous attraction, there is surprisingly little information about how to get to Havasu on the internet. And there’s even fewer signs and directions available once you’re actually on your route… and I mean literal signs. It’s honestly astounding that so many people manage to get themselves there!
Getting to the trailhead (where you will park your car and begin your hike) is actually kind of sketchy. There is no cell service on the drive there so you will have to rely on old school printed directions like it’s 2003.
Pro Tip: print out your driving directions since there is no cell service
It is recommended that you start your hike before sunrise, meaning you will be driving at night and the road to the trailhead is pitch black. It’s very common for cow and deer to run across the road so keep an eye out.
Many of the instructions say things like “drive for 60 miles and then turn left” since there are no street signs. I had to watch my odometer to know when and where to turn, so make sure you’re paying close attention!
Here are driving directions coming from each of the 3 major airports. Print these out and follow them closely!
From Phoenix
Drive Time: 4.5 hours
Directions:
- Drive north on I-17 and exit onto AZ-69 N at Exit 262 toward Prescott
- After 21 miles merge onto AZ-89 toward Chino Valley
- Continue on AZ-89 to I-40 and go west on I-40
- Take the I-40 Business Exit, Exit 123, toward AZ-66/Seligman/Peach Springs
- After about 22 miles you’ll see the Grand Canyon Caverns Inn on your left (closest lodging to the trailhead)
- Keep your eye out for Indian Road 18 heading to the right (north), and turn onto it.
- Follow Indian Road 18 for approximately 60 miles, where the road ends at Hilltop (the trailhead)
From Flagstaff
Drive Time: 3.5 hours
Directions:
- Drive west on I-40
- Take the I-40 Business Exit, Exit 123, toward AZ-66/Seligman/Peach Springs
- After about 22 miles you’ll see the Grand Canyon Caverns Inn on your left (closest lodging to the trailhead)
- Keep your eye out for Indian Road 18 heading to the right (north), and turn onto it.
- Follow Indian Road 18 for approximately 60 miles, where the road ends at Hilltop (the trailhead)
From Las Vegas
Drive Time: 3.5 hours
Directions:
- Take US-93 South from Las Vegas and follow it for 102 miles
- At Kingman, merge onto I-40 E/US-93 S toward Flagstaff/Phoenix and stay on for 4 miles.
- Take the Andy Devine Avenue exit (Exit 53) toward AZ-66 E/Kingman Airport
- Turn left onto US-93 Bus S (E Andy Devine Avenue) and continue to follow E Andy Devine Avenue
- E Andy Devine Avenue becomes E Highway 66/AZ-66, and follow this for appx 50 miles
- Watch for Indian Road 18 on your left. If you reach Grand Canyon Caverns Inn (on your right), you’ve driven past Indian Road 18. However, we recommend staying at the GCC Inn, which is the closest lodging to the trailhead.
- Follow Indian Road 18 for approximately 60 miles, where the road ends at Hilltop (the trailhead)

What to pack for Havasu Falls
I put in some serious man hours researching what I would need to bring with me on this trip. What gear do I need? And of that gear, which gear is the best gear? What kind of hiking shoes do I need? What am I supposed to eat? How can I do this without spending my life savings? No worries, I got you covered.
Read more: How to Travel when You’re Poor
I’ve already done the research for you! I researched each item on this list and made sure to find the best quality for the best price, and all of my gear worked perfectly and served its purpose. 😊
Things you absolutely need
- Hiking Boots – Every post and forum under the sun recommended to order a size up. I never order a size up. My feet are a perfect size 8 and I have never had to size up. So I arrogantly ignored this warning and bought my regular size hiking boots. Do you know what happened to me? I suffered the worst pain in my toes I have ever experienced and 2 weeks after my trip, my left toenail departed this world. I lived a full calendar year without a toenail on my left foot. I spent 12 months getting pedicures where they could only paint 9 of my toes. Don’t be like me. Please, order a size up. – Merrill Azura Hiking Shoes
- Non Slip Water Shoes – You definitely need these as you will be wading through the waterfalls, swimming, and crossing rivers. –$25.99
- Sleeping Bag – Even if you’re going in the middle of summer, make sure to bring a sleeping bag. It get’s very cold at night! This one was great for the price, super lightweight, and v comfortable. – $22.99
- Wool Socks – These are a necessity to prevent blisters. I got 2 pairs, these and these.
- Camp Soap – This is super serious. Regular soap is a big no-no and could get you banned from the campground. – $7.49
- Osprey Packs Women’s Tempest 40 Backpack – Best one on the market, I promise. It’s pricey and you can definitely find cheaper options, but when you’re hiking 10 miles in the heat of the desert with a week’s worth of supplies attached to your back, you’re going to want a quality backpack that is designed to evenly distribute the weight and lessen the burden on your back, knees, and shoulders. – $159.99
- Microfiber Towel – You want to dry off after swimming all day, yeah? You need one of these. – $9.95
- Hydration Bladder – I don’t need to explain why this is paramount. – $14.99
- Headlamp – You will be glad you brought this! – $7.99
- Gold Bond Anti Friction Stick – This. Is. Necessary. Chafing ruins lives. – $7.49
- Day Pack – You will need a day pack for day hikes for your small essentials (camera, water, towel). – $11.99
- Bathing Suit (duh)
- Bug Spray
- External battery
Nice-to-have’s
- Sleeping Bag Bungee Cords – to roll up my bag more compactly and hang it from my backpack easily. – $5
- Coleman Portable Stove – totally up to you, many people chose to eat pre-made food. I was glad I brought mine though for hot coffee in the morning and a warm bowl of ramen after a long day. You will need to buy the propane canisters separately though, so be aware of this! – $28.95
- Steal Carabiner – to easily attach things to my pack – $5.29
- Nalgene Water Bottle – separate from your hydration bladder for easier/lighter drinking.
- Hammock – Mine is from Bear Butt but it’s currently unavailable 🙁
- Stainless Steel Pot – for cooking on my stove! – $10.95
- Adorable watermelon floaty for the ‘gram – $19.99
- Second Skin Blister Pads – along with band aids and athletic tape. They’re pricey but I used to be an Athletic Trainer for my college and this is what we would use on all of our student athletes. This stuff works big time. (Also great for a night of heel wearing, ladies!) – $26.90
- Lara Bars, Protein Bars, Granola Bars
- Ramen and Instant Noodles
- Matches/lighter – I bought my stove and literally didn’t think to bring this. It just never occurred to me. So I had to borrow matches from some of the girls I was with. Whoops!

Hiking to Havasu Falls
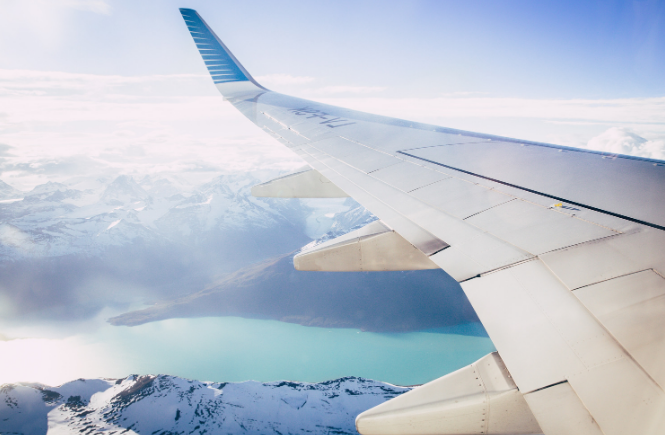
Without further ado, I will share my personal experience of visiting Havasu Falls. I flew from Boston to Las Vegas where I rented a car and made the 3.5 hour journey south to the Havasu Hilltop where I would meet up with 50 strangers from the internet 😋.
We all parked our cars at the hilltop where we gathered and got ready to head down into the canyon. All 50 of us started our 10 mile hike at the ripe hour of 4am.
Pro Tip: Start your hike before sunrise to avoid the heat
The hike itself isn’t overly difficult as you’re flat for the majority of it, but there are times where it can be challenging. It takes most people between 3-7 hours to complete the entire hike. On my way in it took about 5 hours, as we were pacing ourselves and chatting, but on the way out I finished in less than 3. It all depends on your pace!
Please note: there are no stops for water during the 10-mile hike so make sure your water bladder is completely full.
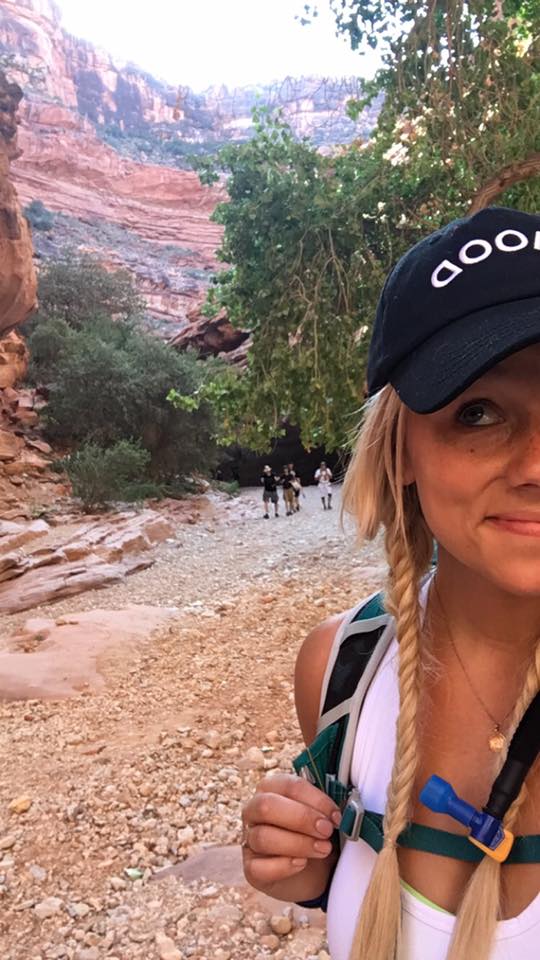
The initial descent into the canyon is pretty wild as you’re heading straight down, descending 2000 feet at a steep incline. You can expect incredible views of the sunrise on your way down!
After you reach the bottom of the canyon, you hike for 3 miles until you reach the Hualapai Canyon at the junction of Havasu Canyon. You’ll know you’re there when you see the blue river. From here it’s another 1.5 miles until you reach the Supai Village.
Once you arrive at the village you must check in at the tourist office with your reservation. Here you can find a small convenience store stocked with water and snacks, a diner, a post office, and a bunch of friendly dogs! This is a great place to take a break and recharge your cell phone, fill up on water, etc.
Next you will hike through the village, past homes and schools, towards the falls. It’s only another 1.5 miles from the village to the campgrounds so you’re nearly there at this point. 😊
The first signs of that aqua blue water are like an oasis in the dessert. About a mile from the campsite the path starts to go through a small forest with trees and plants, alongside a small blue brook – which means you’re getting close!

From there you have to hike down this huge hill that is covered in red dusty sand, but you can hear the falls! My toes were in so much pain at this point that I just started running. Picture me, a blonde girl with a giant backpack on, full-on running past people with my sleeping bag swinging violently. Sometimes you get to the point where you literally don’t care how crazy you look… and this was the case that day.
After hiking down the big hill (or barreling down in my case), you come to a point where you know the falls are to the right but you can’t see them yet. There’s a tiny little trail that goes through the grass, and right at the end is where you get your first few of Havasu Falls.
You actually have to go past the falls to get to the campsite. It was painful to keep going past them but I wanted to get my camp set up before doing anything else.
The “campsite” is just a bunch of spots with trees right near these rivers that run as blue as the falls. There’s a few of them that separate off of each other with sites in between each. Hammocks are definitely the way to go at Havasu and the campsites are set up with trees to accommodate hammocks perfectly.
Pro Tip: bring a hammock!
I’ve never owned a hammock before and I had planned on sleeping in a tent for this trip but I kept reading posts saying “Havasu is a GREAT spot for hammocks” so I decided to give it a try. What I didn’t realize is that sleeping in a hammock at Havasu is really the only way to go.
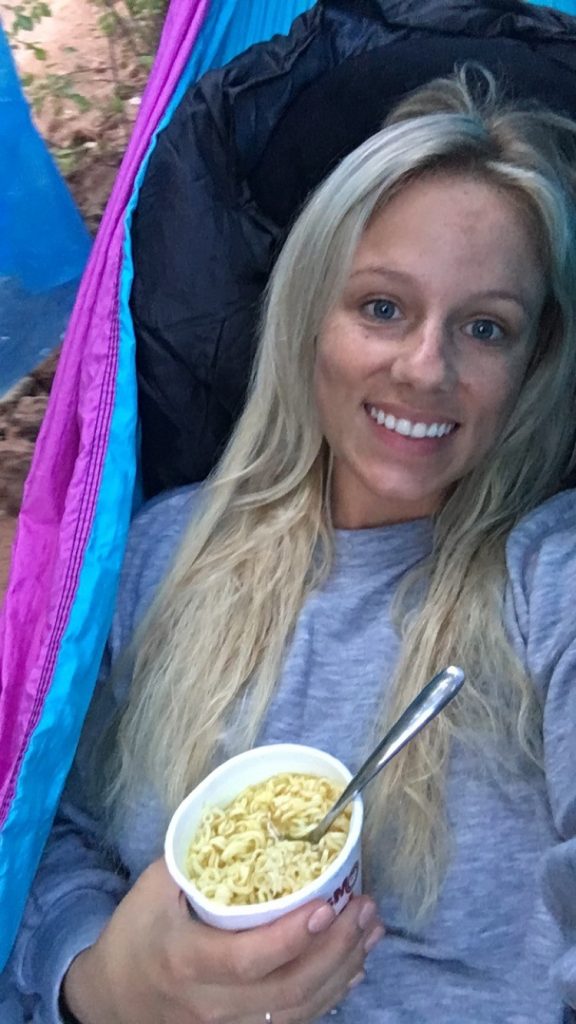
I bought my pretty blue and purple hammock on amazon for $30 and it ended up being the best decision ever. Its super lightweight and rolled up nicely in my bag, and made for some super comfy sleeping!
There a lot of creepy crawlers that come out at night in the desert. Having a hammock kept me up off the ground and out of reach from all the tarantulas, scorpions, and lizards. I would strongly suggest getting a hammock so you can avoid waking up with a giant spider on you like what happened to one of my friends… 😳
Havasu is the main falls but there actually 4 in total: Havasu, Moody, Beaver, and Hidden Falls. Moody is by far my favorite but it requires a super scary trek down the face of a cliff to get to them. There’s tons of man made ropes, chains, and wooden planks to help you walk down but it’s still terrifying.
Moody is the biggest of the falls but it’s not in direct sunlight like Havasu is, which is why Havasu is a better spot to post up for a day of floating.
Learning the locations of all the other falls is like a secret each visitor learns as a rite of passage and then passes on to the next round of visitors. On your first day you’re so lost as you try to take it all in and figure out where everything is, but then on the second day you’re a seasoned veteran who can take newcomers under your wing and show them the ropes.
Don’t worry too much about finding Beaver Falls or Hidden Falls or any of the good cliff jumping spots (there are a few!) ahead of time because finding out once you get there will be your rite of passage. 😊

Miscellaneous tips
- Bring a rope to hang your food from the trees to keep it safe from bugs and animals.
- Johnson’s Aloe Vera Lotion is weirdly a great bug repellent. I used this every day and didn’t get eaten alive!
- Bring a pillow! I used the same pillow for my flight.
- Bring a sweatshirt, it will get chilly at night.
- Bring extra trash bags because you have to carry your trash out with you.
- It doesn’t hurt to have cash on you, as there is a small “cafe” that serves hot food right outside of camp.
- There is water available for you at the campsite, but it doesn’t taste amazing. I wish I had brought lemonade packets with me!
- If you bring a Go Pro, bring a floating case for it. We saw three different groups of people searching frantically in the water for their go pro that fell into the water and sank.
- Bring instant coffee with you! I opted for the Starbucks individual ones.
- If you can get your hands on a florescent black light, bring it! You can shine it on the rocks at night and see all the scorpions. It’s kind of scary actually to see how many of them are hanging out right next to you, unnoticed.
- Look down when walking at night. I repeat: LOOK DOWN. There are giant tarantulas, grasshoppers, and scorpions walking around.
I hope this helps you plan your trip to Havasu Falls! Don’t forget about the hiking boots – SIZE UP! 😘


1 Comment
hi, thanks for the info i love your website,i have add it to my favorites so you have a another follower lol.. i hope you like mine website as well… http://www.top10share.com thanks